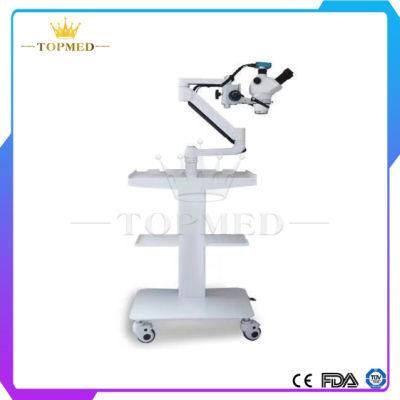
Dental Microscope Surgical Digital Medical Device Medical Dental Microscope with Video & Camera
Guangdong Changxing Printing Service Co., Ltd.- Applicable Departments:Orthodontic Department
- Certification:UL, CE
- Material:Metal
- Object Lens:0.5X, F=250mm
- Mechanical Arm:Down-240mm Middle- 450mm up 230mm
- Adjustment Range:50mm-75mm
Base Info
- Model NO.:Electric product
- Transport Package:Box
- Specification:45kgs
- Trademark:Topmed
- Origin:China
- HS Code:90184100
- Production Capacity:300,Month
Description
Basic Info.
Model NO. Electric product Transport Package Box Specification 45kgs Trademark Topmed Origin China HS Code 90184100 Production Capacity 300/MonthProduct Description
Surgical Dental Digital MicroscopeTechnicals:
| No | Dubleey epiece tube | Pupildistance adjustment rang :55mm-80mm |
| 1 | Eyepiece | Field of vision adjustment :±7D |
| 2 | Big objective lens | F=250mm |
| 3 | Object diameter | LED light source>45,000LX |
| 3 | View diameter | 10mm-100mm |
| 4 | Spot diameter | 90mm |
| 5 | Balance arm | Down:240mm,Middle:450mm,Up:230mm |
| 6 | Microscope light source | Balance the light source |
| 7 | Maximum resolution | 1920*1080P |
| 8 | Camera shooting | Extraposition2.5X~25X |
Part names and function
- Camera
- Preparation for use
- Plug in the HDMI cable and DC power respectively. The LED lights red, indicating that the camera is powered.
- Short press the switch button, LED light turns from red to orange, indicating that the camera starts normally.
- If you are connected to a computer, you only need to insert a USB cable to connect to your computer.
- Power on/off:
- Power on, long press ON/OFF.
- Power off,short pree ON/OFF.
- Electronic zoom in and out:
- Press the UP button and the image will be electronically magnified and the electronic magnification will be displayed on the left side of the image. Up to 5 times the electronic magnification is supported.
- After electronic zooming in, pressing DOWN will electronically zoom out and display the current electronic magnification on the left side of the image until the original size of the image is restored.
- Switch photo/video mode:
- The system defaults to the camera mode. Press OK at this time to take a photo.
Configuration list
| Part Name | Quantity |
| Microscope body | 1 |
| Eyepiece | 2 |
| Camera | 1 |
| Adapter | 1 |
| 0.5 Object lens | 1 |
| Handle | 2 |
| Light Source | 1 |
| Bracket | 1 |
| Mechanical arm | 1 |
| Fixture | 1 |
| USB cable | 1 |
| Power cord | 2 |
- Maintenance
- All lenses should be kept clean. If there is any fine dust, blow it off with a blower or gently wipe off the cotton yarn. If there are traces of oil and fingers, use a small amount of cotton yarn with a 3:7 ratio of ethyl alcohol and ether to gently wipe off.
- Do not use organic solvents to wipe the surface of the microscope, especially the surface of plastics, and use neutral detergents for cleaning.
- Do not disassemble the microscope by yourself so as not to affect the performance of the microscope
- Do not touch dust, cover it with a dust cover, store it in a place away from moisture, so as not to rust or mold, when the microscope is not in use.
- To maintain the performance of the microscope, regular inspections are recommended.
Instruction:
1.Please notice that check product appearance if it is obviously deformative or attached foreign matters.
2.It must be kept in high temperature autoclavable sterilizer with 15 mins , and then dried for 30 mins.
3.put the stripper in coreect way with contra angle /manual grip .
4.the stripper will be placed on the interproximal teeth lightly stroke to cut and grind
5. in operation , if the stripper was broken or droped at ground, should replace a new one in time .
6.After operation , the stripper should be cleaned up completely and put in dry condit
Picture:


About us: